BandwagonHost Guide
KiwiVM Data Center Migration Checklist: Target Region and Traffic Ratio
Select the available area in the panel, confirm the traffic multiplier, and verify the actual data center, network address, and service status after migration.
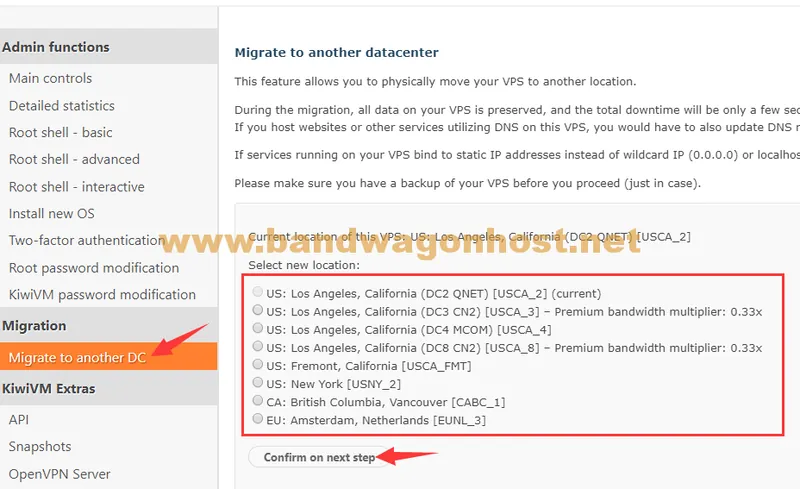
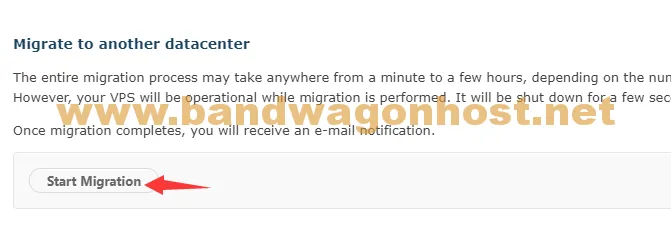
First, enable Migrate to another DC in the KiwiVM on your current VPS. The targets listed in the panel depend on your plan and current capacity; DC3 or DC8, mentioned in previous articles, are not guaranteed to be available on all instances.
When you reach the confirmation page, focus on checking the target data center, traffic multiplier, and any potential network changes. In the source example, some older KVM plans, after being migrated to a specific CN2 data center, have their quota calculated at one-third of the original amount; for your own instance, the information displayed on the panel should be taken as the standard.
After the migration is complete, return to the same page to check the current location of this VPS and verify the management address, DNS, and external services. Critical data should be backed up before the operation, and a maintenance window should be scheduled for possible short-term interruptions.