BandwagonHost Guide
First-time purchase of a BandwagonHost VPS: From selecting a data center to confirming activation
After selecting the data center, billing cycle, and service plan, proceed to registration and payment. This article reviews the information in the order of shopping cart, bill, and service list.
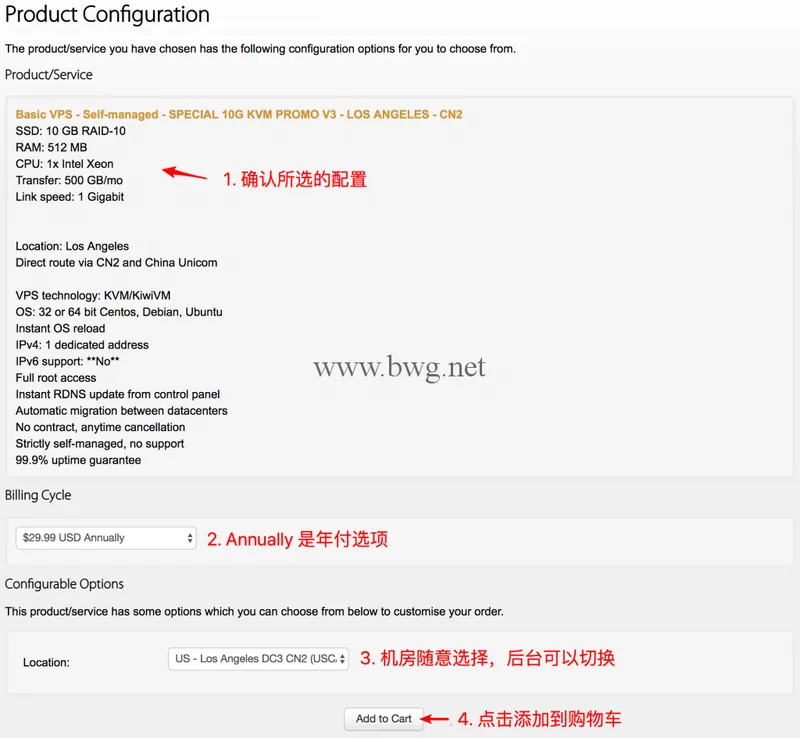
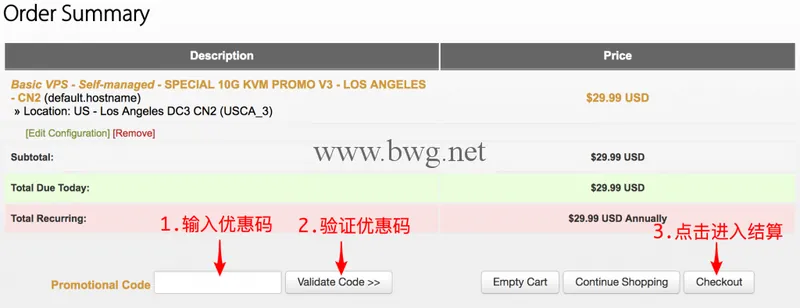
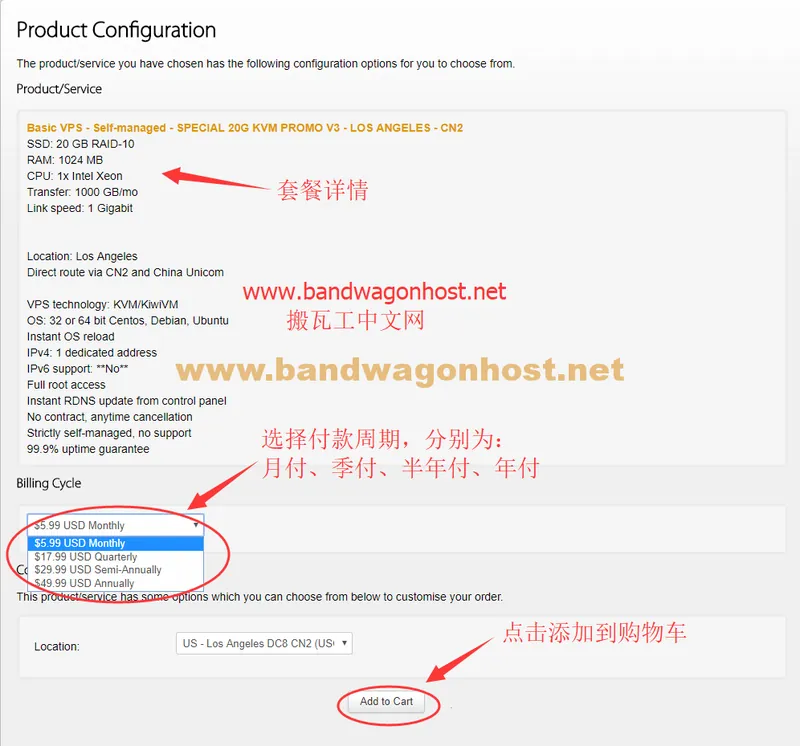
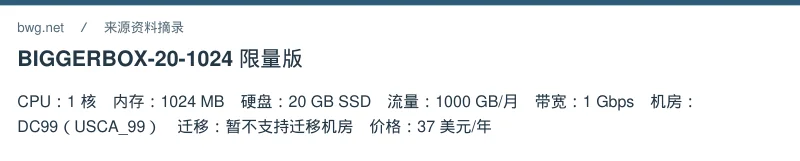
First, compare your expected monthly traffic, disk space, and memory usage with the package list item by item. The same VPS may have multiple subscription periods; the numbers in your shopping cart represent the total amount payable for the selected period. When choosing a data center, also check the available migration range; being able to purchase a particular series does not guarantee you can switch to any region later.
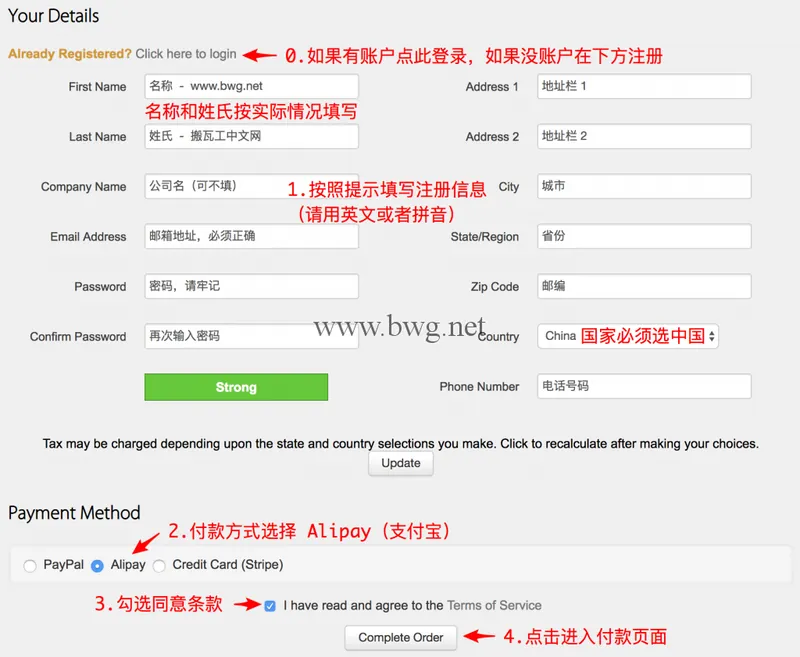
After confirming the configuration, use "Add to Cart" to add the order to your cart. If you have a discount code, verify it first, then observe whether the subtotal has actually changed. After clicking "Checkout," existing accounts can log in directly, while new users should fill in their real contact information and read the terms of service.
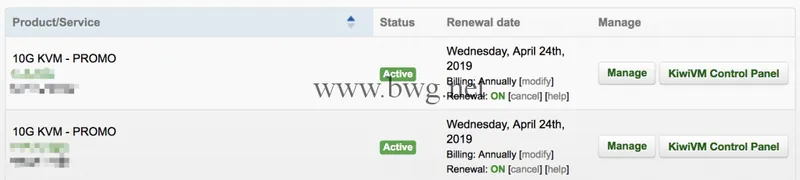
Before making payment, double-check the bill currency, total amount, and payment method. For Alipay orders, only pay after confirming the amount displayed on the checkout page is correct. Return to your account's service list, find the corresponding VPS, and check its activation status. Do not use discounts or amounts from old tutorial screenshots as your settlement amount.